Pattern Spotlight: Neat or on the Rocks?

Gerty in Black, Shiitake, and Sexy.

I have been obsessed with American wools for a while now, and when I heard that Anzula was releasing a 100% American Targhee wool yarn this fall, I thought I had died and gone to heaven.

Knowing the quality and luxuriousness of other yarns from Anzula I knew that Gerty was going to be a hit. I picked up a skein, and that first squish was everything I had hoped it to be and more.


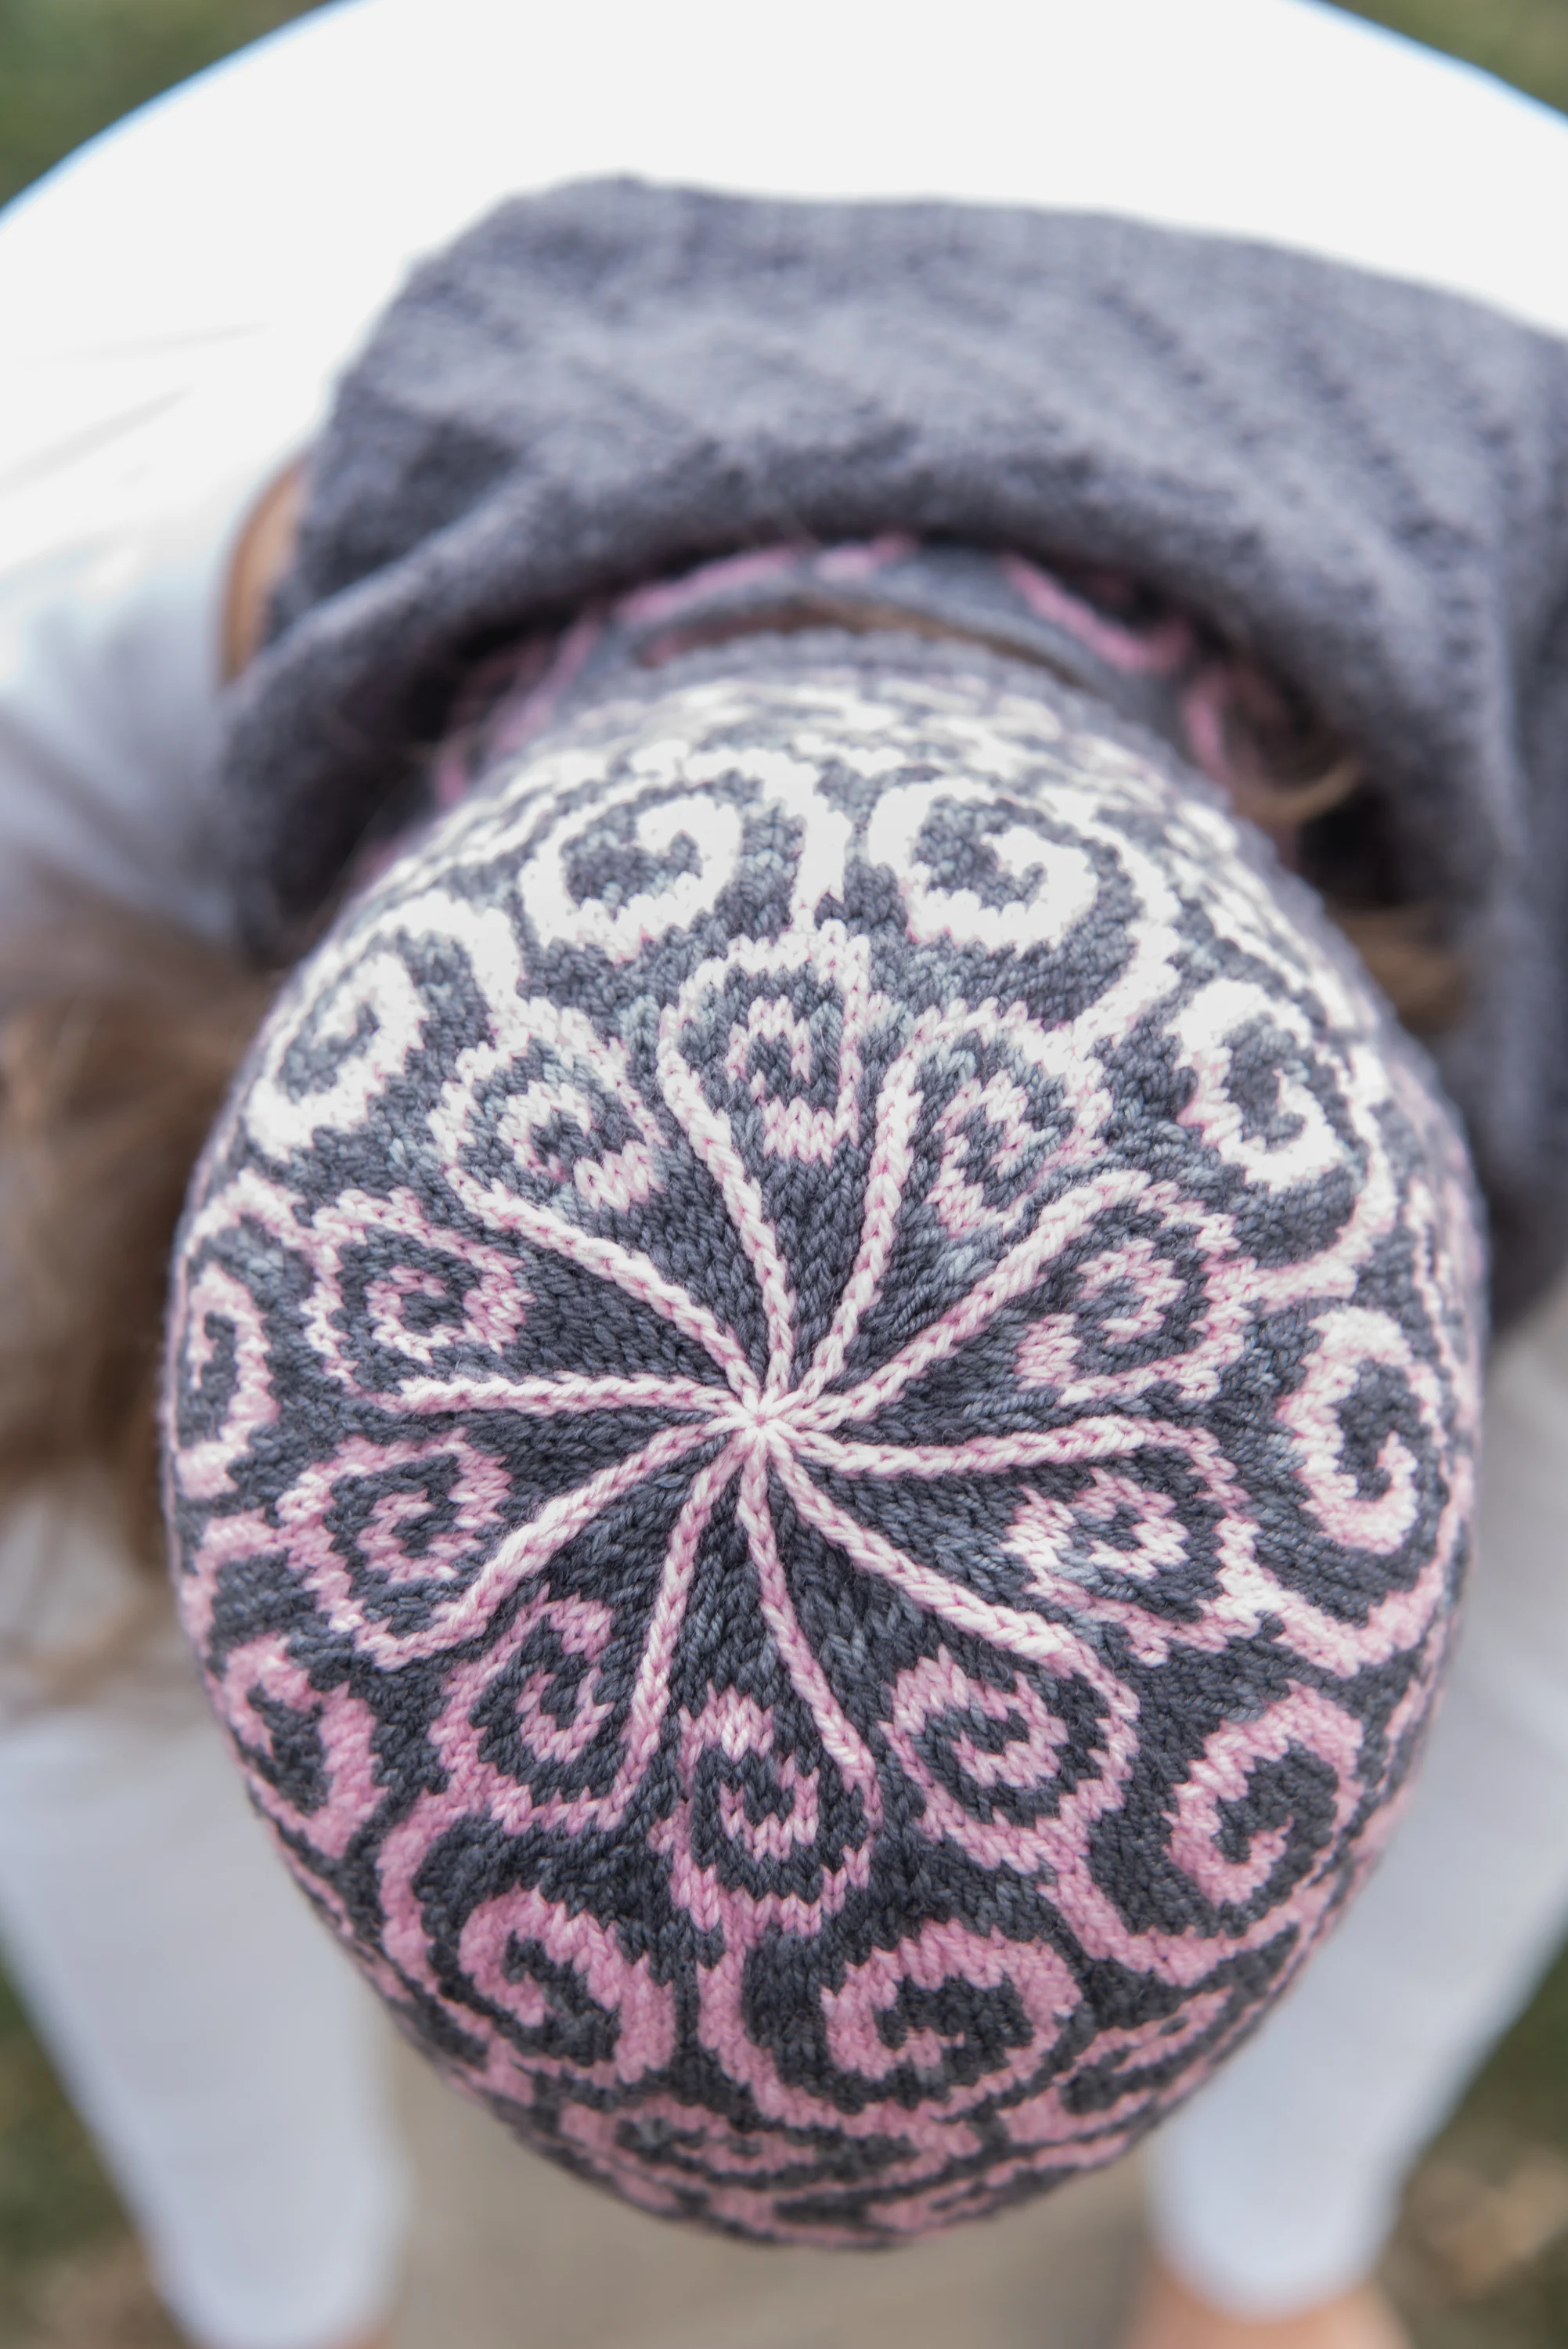
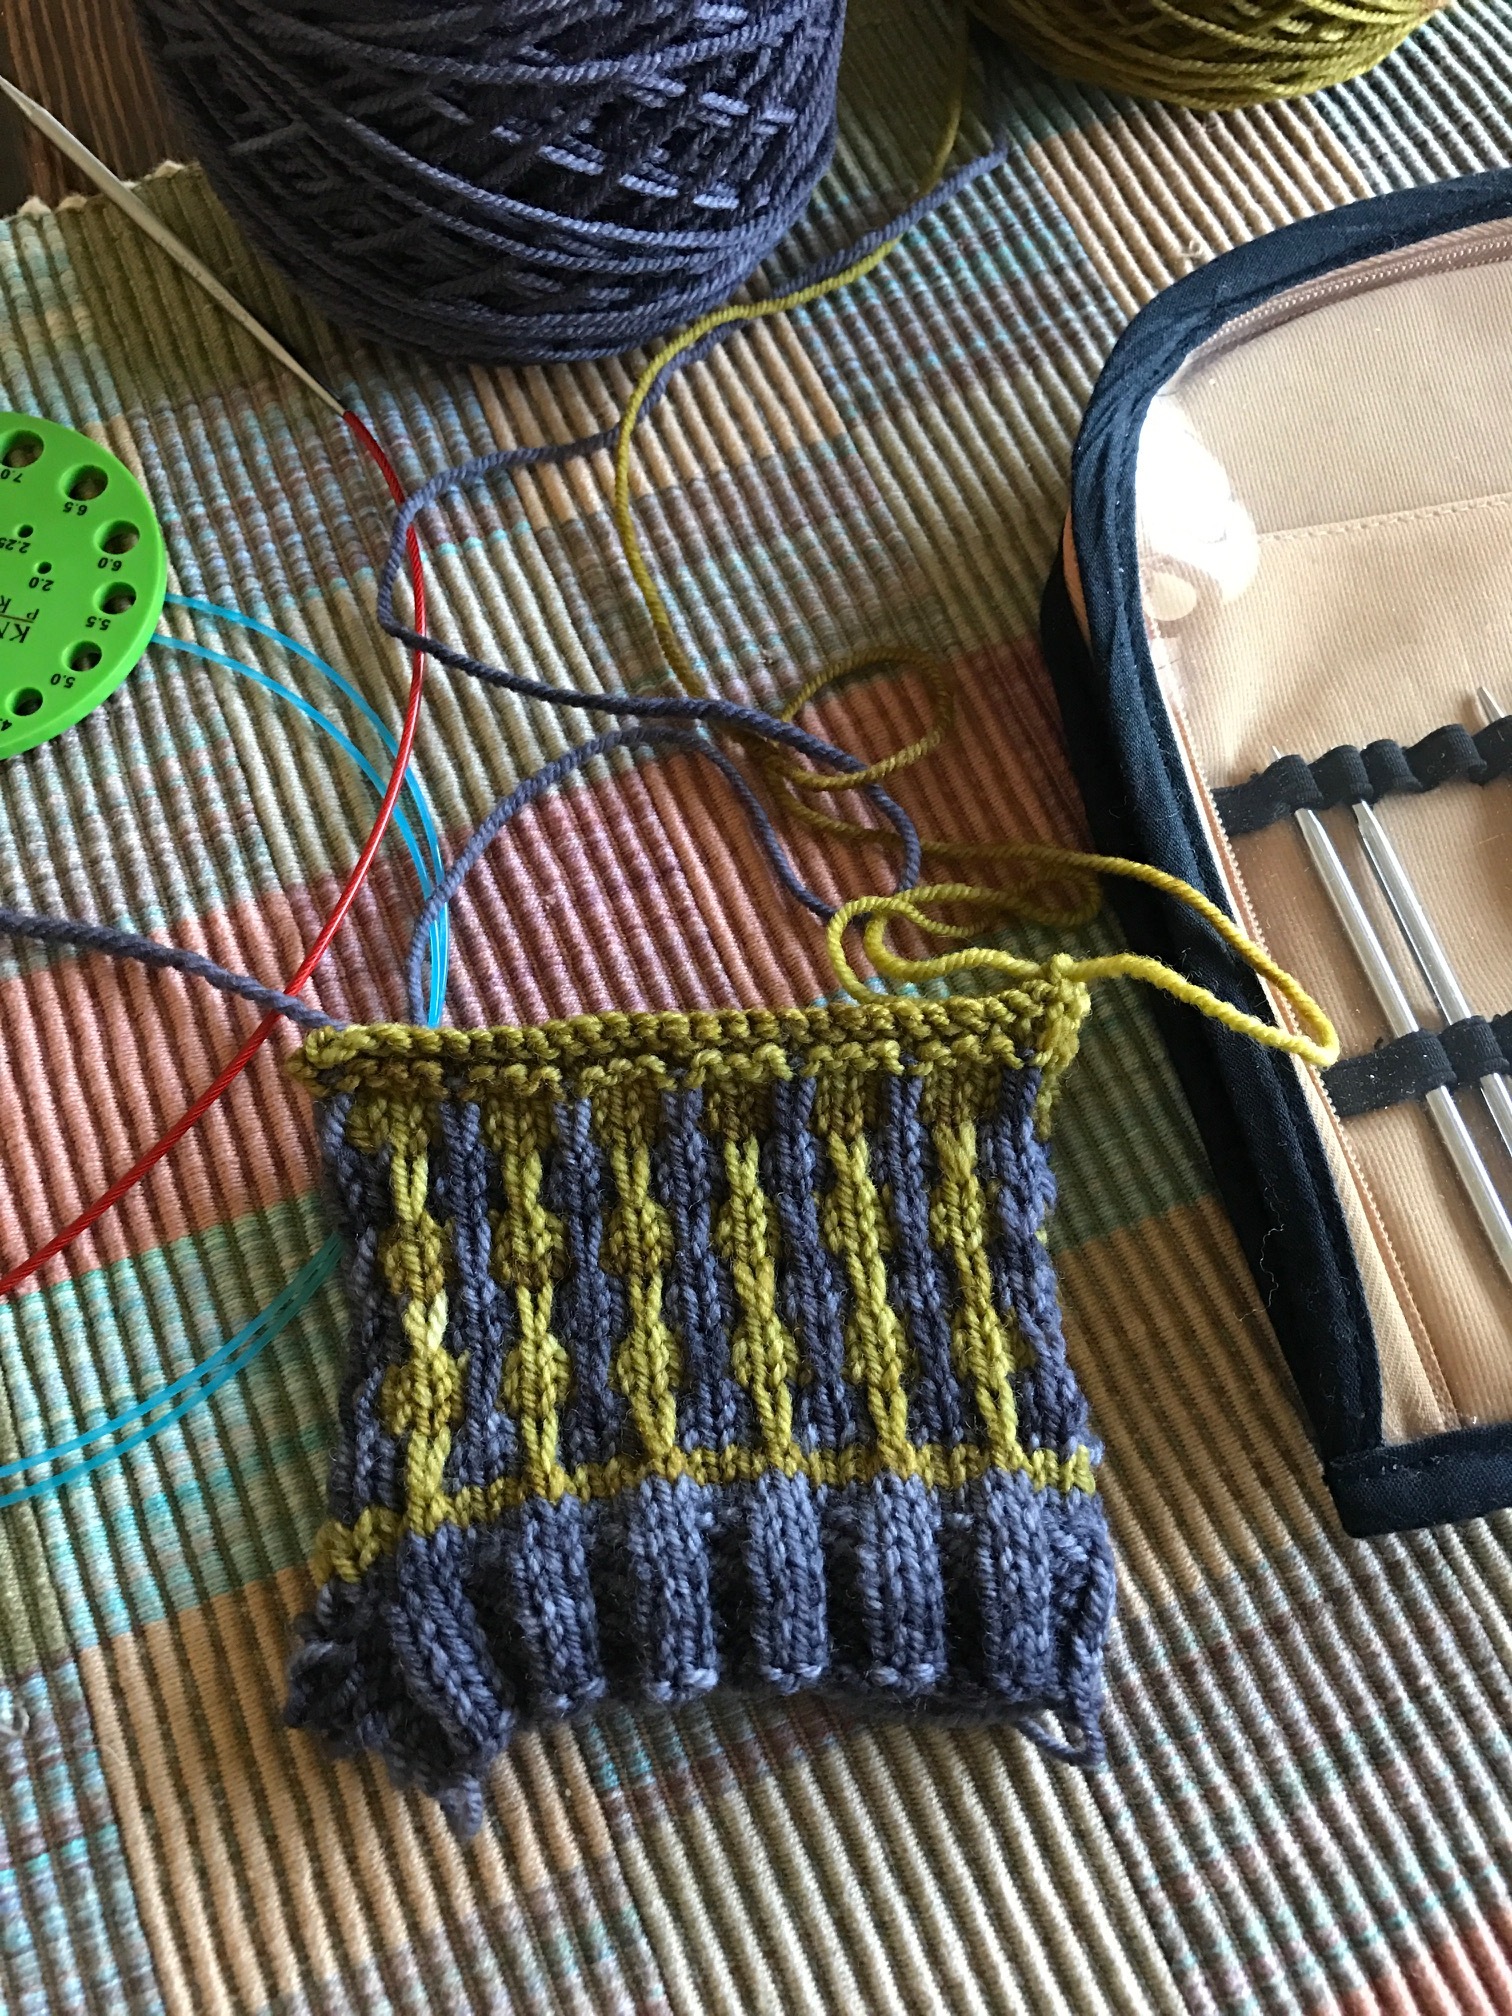
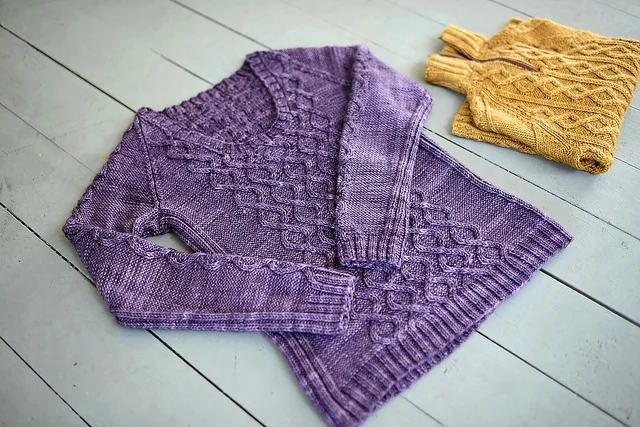
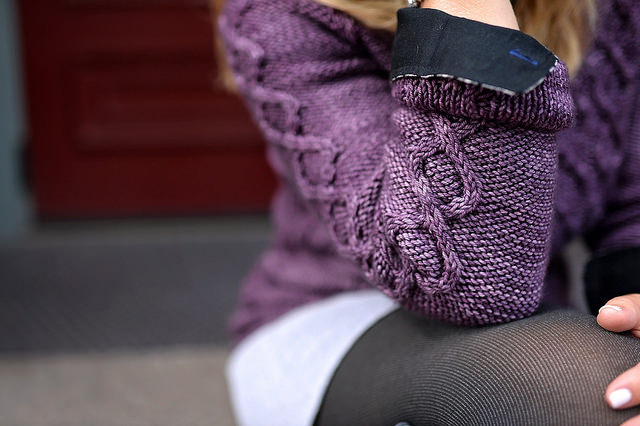
Though this yarn feels rustic at first touch, the fiber itself is actually quite soft. Gerty is perfect for textured knits as it holds the structure well, so I knit a shawl that alternates between stockinette to show off the beautiful tonality of the yarn, and a textured section to show off the structure of the yarn. The cable that runs up the length of the shawl also highlights the stitch structure. 


Neat or on the Rocks? How about both?

Did you notice the button and loop? They're to help you style this shawl with out a shawl pin, and it stays where you put it!

After knitting with it, I decided that I had to try weaving with it. Targhee yarns tend to make a luscious woven fabric. Using my leftover Sexy, Black, and fresh skeins in Sexy and Shiitake, I wove up some fabric in a simple twill pattern. After washing and drying it, the fabric was absolutely delightful! You can see the details for this weaving project on my blog - www.benjaminkrudwig.com

In my opinion Anzula knocked this one out of the park!

As a thanks to Anzula Blog readers, I want to offer a coupon code Anzula17 to receive my new knitting pattern using Gerty for 50% off. Click the link here to redeem this offer (good until Sept 30th at midnight)!
-Benjamin Krudwig


Stay up to date on Benjamin's designs and learning opportunities - www.BenjaminKrudwig.com

Gerty is available in the shops listed below, all of whom are happy to ship!

Baskets of Yarn - Charlotte, NC - (704) 733-9053
Wasatch and Wool - Park City, UT - (435) 575-0999
Yarn Refuge - Reno, NV - (775) 384-1600
Knit One Purl Two - Rockford, IL - (815) 904-6030
Harps & Thistles Yarn Emporium - Cuyahoga Falls, OH - (234) 208-9482
Avenue Yarns - Albany, NY - (510) 526-9276

Special orders only: Swatches - Fresno, CA - (559) 435-2813
Special orders are dyed to order and are typically ready in 3-5 weeks.You can place a special order for Gerty (or any of our yarns) at your favorite local shop. See a list of shops here and our map here

Comment
Share

Pattern Spotlight: Ecliptic

Hello everyone out there! I am very excited to be guest posting today about my pattern, Ecliptic, which happens to be the cover shawl on my new book, A Garden of Shawls!

Before I get started on the shawl itself, I thought it might be fun to give you an intro as to where this self-publishing thing came from.

When I first started as a designer in 1998, my goal was to eventually end up with my own company producing books. Little did I know the internet would be what it is now! :) At that same time I had met my favorite designer, Terry Kimbrough, who had been at that point designing for many years (she actually started in her teens). She and I had talked a lot about how self-publishing was the way to go. She already back in the late 1990s could see the way the industry was trending. And I did self publish patterns back then. I would publish patterns that weren’t picked up in magazines, and I actually self-published 3 books myself in 2002-2003 - which you can see here.

I got a little sidetracked in the early 2000s and started designing primarily for books and magazine companies, but what I discovered over the years is that I like to do what I want to do. I don't like to be given a theme, or colors of the season. I prefer to design what is coming out of me at the time. I guess you could say I like having control over the entire process! :) In the last 2 years, I determined that this was the time to refocus and go back to my dream. In September 2016, I launched to the world Occhi Blue Press - my new book imprint. The first book, A Garden of Shawls, started pre-sales March 1st, just in time for National Crochet Month. And you will notice I am releasing far more indie patterns starting this year. I am shooting for 2 a month!

I have so many ideas in my head and on paper that I will be busy for years to come!

Let’s talk a little bit about Ecliptic! If you know anything about me and my background, you already know that I learned to crochet from my Italian grandmother, who learned to crochet from her grandmother in Italy. I have a strong background in crocheted Italian laces and for this book I really wanted to go back to my roots and use lace in new and interesting ways.

Ecliptic crocheted in Anzula Breeze, colorway Persimmon.

If you are not a lace person, consider this - you don’t have to use tiny thread and hooks to create late. In fact, in my beginning lace classes, I recommend using worsted weight yarns and a J or K hook to get started so that you can get a feel for it.

Ecliptic is born out of that idea. Sure, Anzula’s Breeze yarn is considered lace weight but I used a 3.00 mm crochet hook (between a C and a D) which is considered a much larger hook that a standard lace hook - usually is a size 6 steel at 1.75 mm. So right there I have removed one of the biggest fears crocheters have with lace. The hook is almost double the size!

Ecliptic is worked from the top down as most triangular shawls are. You start with a shell in the middle of the top edge, and then you gradually increase as you go. The entire shawl consists of triple crochet and chain stitches. Triple crochets are heavily used in Italian lace, and I used a simple shell motif that is just a 4 row repeat - one you can memorize easily! And the best part? If you want to make the shawl smaller or larger all you have to do is reduce or increase, respectively, the number of repeats before you make the edging. And the beauty of the edging is that it mimics the shawl pattern, but it isn't the same. More openwork shells as in traditional Italian laces are used to finish the shawl off. And the edging is just one last row! Easy-peasy!

Eliptic Karen Whooley

If all that doesn’t convince you - there is a section in the book that explains how you can use heavier weight yarns for ANY of the patterns in the book. So is Squishy more your speed? You can make this shawl using Squishy. Or what about It Could Be Worsted? You can use that too! You have options!

Ecliptic is one of my favorite shawls in the book. Why? The yarn. Who wouldn't want a spring shawl in a linen/silk blend? Breeze is so smooth and easy to crochet with. The stitch definition is beautiful as you can see from all the photos. And the best part is that even with a shawl made out of a dense crochet stitch, the shawl weighs next to nothing! Ecliptic will be the perfect topper for a summer night. Persimmon was my color of choice for this shawl, but with Anzula’s line up of colors you can chose your perfect color.

A Garden of Shawls is now available on my website. You can also purchase the book on Amazon.com (print and Kindle) iBooks, Kobo, and Barnes and Noble.

I hope that I have inspired you to make your own Ecliptic shawl. And if you do, let me know about it! I would love to see your finished project on Ravelry or you can always contact me anytime over at at my website!

-Karen


Comment
Share

Pattern Spotlight: Jesse's Girl by Kate Oates

Thank you so much Anzula for having me as a guest to talk about one of the designs in my new book, Grown.  I'm honored to be here!  In addition to design details, I'd also like to share some modification info that could be of interest to knitters who prefer cardigans :)

This is Jesse's Girl.  It was inspired by Jesse Half-Zip, a sweater that was part of my Knits for Boys book and is also now available as a single pattern. My husband and my oldest son share the name Jesse. My son is the 4th generation actually, so the name has been in the family for quite a while. He modeled the Jesse Half-Zip, of course.  And so, I decided it was fitting for me to wear the Grown version.  I openly admit that I made Erica spend WAY more time shooting this piece than the others because I knew I was going to have trouble looking at these photos of myself, ha!

Both sweaters share a central cable pattern and utilize Anzula For Better or Worsted.

I can't help it.  Sometimes I accidentally have a favorite and from Grown, Jesse's Girl is it.

It has all of the things I love. Squishy yarn with incredible color and depth. Textured fabric with cables that pop.  Flattering lines. A scoopneck that I can accent with big sparkly jewelry. Purple.

I had a "knitting disaster" with this sweater.  I knit the entire body and then realized I needed to make an adjustment to the cable pattern.  For a day or two I sat on it, trying to figure out a way around ripping the whole thing out.

NOPE. I had to do it. Frogged the entire thing.  It was painful. So painful. I had been petting those cables for several weeks.  I forced myself to get right back on the horse and reknit it quickly before I had time to get more frustrated. As has happened every time I have made this kind of decision, I don't regret it.  All in the name of perfection!

This sweater is worked from the bottom up with raglan-style seamless sleeves. Shaping at each side flatters.  I am a mom of four.  These things are important. The shaping occurs outside of the underarm stitches in a sweet spot that works whether you are trying to create some curves or nicely accent those that are there without messing with either of the stitch patterns in the body.

I have already had several comments from folks who would like to see this design in a cardigan version.  I don't have any immediate plans to do that, but I am happy to share a few instructions on how you can accomplish this modification!  It is really nothing fancy.  It will be easiest to follow along with the Jesse's Girl pattern while reading these notes, but the principles are definitely applicable to other designs as well.

First, adjust the cast-on to remove width for the buttonband. For this design, I suggest you CO 6 fewer stitches.  This removes the center front cable only while providing for 2 selvedge stitches (one at each edge).  The selvedge stitches make it easy to pick up for your buttonband.  In this design, it is important to set up the Ribbing properly, so that your side Ribbing matches with the hem. With this in mind, set-up your Ribbing like this:

Row 1 (WS): P1, k1, *p2, k2; rep from * to last 4 sts, p2, k1, p1.

Row 2 (RS): K1, p1, *k2, p2; rep from * to last 4 sts, k2, p1, k1.

After you work the hem, and this is the only tricky part, map out your cable set-up row since the end-of-round for the pullover is not in the center front.  The easiest way to do this is to draw yourself a little picture like so:

Using the information in the existing pattern, fill in stitch count numbers for each section.  During the following row, you should be able to establish the stitch patterns properly and then you can knit back and forth for a while without thinking too hard. Do not forget to leave your first and last stitch as selvedge sts (that is, work them as knit on the RS and purl on the WS throughout the entire project and don't include them in your cable set up). You won't need to modify the sleeves or the sleeve join.


Next, determine your new center front neckline numbers. Subtract 6 sts (for the width you left out in your CO) from the total front neck stitches that are slipped to hold in the pullover  and divide the remaining sts in half.  The example below shows the smallest size. 22 stitches are slipped to hold for the front neck in the pattern.  After subtracting 6 and dividing by 2, 8 stitches should be put on hold for each side.

Work the remaining shaping just like for the pullover, taking into account that your end of row does not match the patterned end of round.  Your stitch counts both in total and in each section should match up at this point.  When you're all finished, pick up a multiple of 4 stitches plus 2 along those neckline stitches and use the same Ribbing pattern I provided for the hem.

Finish up with your buttonband, once again picking up a multiple of 4 sts plus 2, including along the vertical edge of the neckline.  This time, establish your Ribbing slightly differently...

Row 1 (WS): *P2, k2; rep from * to last 2 sts, p2.

Row 2 (RS): *K2, p2; rep from * to last 2 sts, k2.

Your buttonband should be about 1.25" wide; place buttonholes as you like, with the top and bottom buttonholes about an inch away from each edge.  If you need help placing the buttonholes, use the Scholar Cardigan instructions as a guide. Buttonhole instructions are included in the Technique section of Grown.

I hope that sharing some of these notes with you is helpful! Grown is full of lots of tips and tricks to help you personalize your knits. After all, if you're making your own clothes, they might as well be just right.  For more details about the entire collection, check out this post. Click here to buy it now.

All the sweaters from Grown will be touring around in a Trunk Show next year, which is wonderful but kind of a downer for my closet.  I would really really REALLY like to knit myself this sweater.  Along with several others.  But I've already admitted this one is my favorite so yeah...  first up!  Before I say goodbye, here's a photo of the other Anzula sweater in Grown, shown on my guy. This is is the Eli Cardigan.


Cheers,
Kate

Comment
Share