Meet the Yarn: For Better or Worsted, part 2
Hi. I’m Penny. I’ve crocheted for over 30 years. My knitting experience is different—the technique only made sense to me in 2005, and I began to spin two years later. I’ve improved both skills at the same time—how yarn is made and how yarn becomes knit. Crochet wasn’t forgotten and I continued to choose yarns that echoed the characteristics of those I’d always used—smooth thread or fine weights. If I did venture into different yarns, my results didn’t meet my expectations based on my experiences with them knit. I wasn’t able to find an accessible resource explaining how yarns work in crochet.
When Jill began her “Meet the Yarn” series in Anzula yarns, I realized that here was an opportunity to answer my crochet questions. I am delighted to explore how each of Anzula’s yarns work from a crochet perspective.
In this new series, I’ll explore how the different construction of each yarn—the fiber composition, the structure (how it is spun and plied), and the weight—create specific results in crochet. While I am not diving deeply into specific gauges, I plan to answer how the yarn behaves as it is worked-up. Does it split? Is it easy to rip out and rework? Does it shine as one stitch and underwhelm in others or is it one that works with a variety of textures and motifs? Are there projects where I think it works best? I plan to explore the stitches in general, not focusing on gauge, though I may return to explore how extremes may influence a yarn. I believe that rules can be broken, I urge you to explore these yarns on your own and make your own discoveries.
We’ll begin with a powerhouse yarn for knitting—For Better or Worsted. This 4-ply yarn features super-wash merino, cashmere, and nylon. It’s a knitter’s dream, as Jill mentioned, this yarn is yummy, cushy, and soft. So, how is it for crochet?
Traditional crochet projects are often worked in thin, smooth thread. In knitting, the loops form the face of the fabric, so a yarn of this weight is appealing to modern knitters. It will work up quickly and the fabric isn’t burdensome in its bulk. However, by contrast, crochet stitches are stacked, the sides of each loop form the front and back of the fabric, creating a thicker denser fabric when worked in the same yarn.

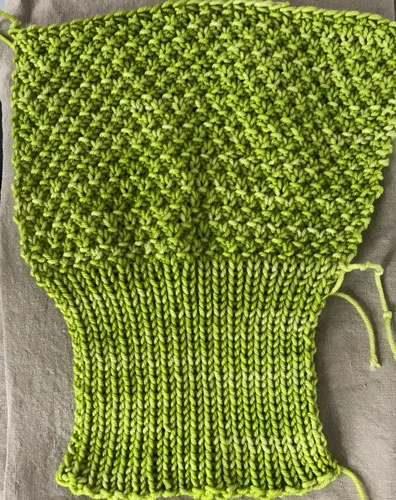
A swatch of For Better or Worsted in stockinette with a garter stitch border (left), next to a single crochet swatch (right).
We can see this when we contrast a stockinette swatch with a garter stitch border next to a single crochet swatch. This thickness and density is not necessarily a negative against For Better or Worsted, it is something we need to keep in mind when we choose a project. I think it is also why I personally lean toward lighter weight yarns for many of my crochet projects, though there are circumstances where this is a desired characteristic.
I found For Better or Worsted lovely to work-up, due to the worsted spinning of the yarn (not to be confused with the worsted weight). The four plies combine to add both strength and loft to the yarn and the ten percent cashmere adds a touch of luxury that made it a delight to both knit or crochet. There was no splitting or difficulty working any of my chosen stitches, even if I hard to rip them out more than once.

A swatch of For Better or Worsted beginning with single crochet and progressing through half-double and double crochet.
First is the swatch progressing from single crochet to half-double and ending with double crochet. While it’s worked at 16 stitches over 4in (10cm) I found that even the dense single crochet stitches have a beautiful drape after a light steam blocking.
I find it works in any of these basic stitches and looks great next to knitting too.

A swatch of For Better or Worsted in stockinette and garter stitch border (left), next to a crochet swatch of single crochet, half-double crochet, and double crochet (right, bottom-to-top).
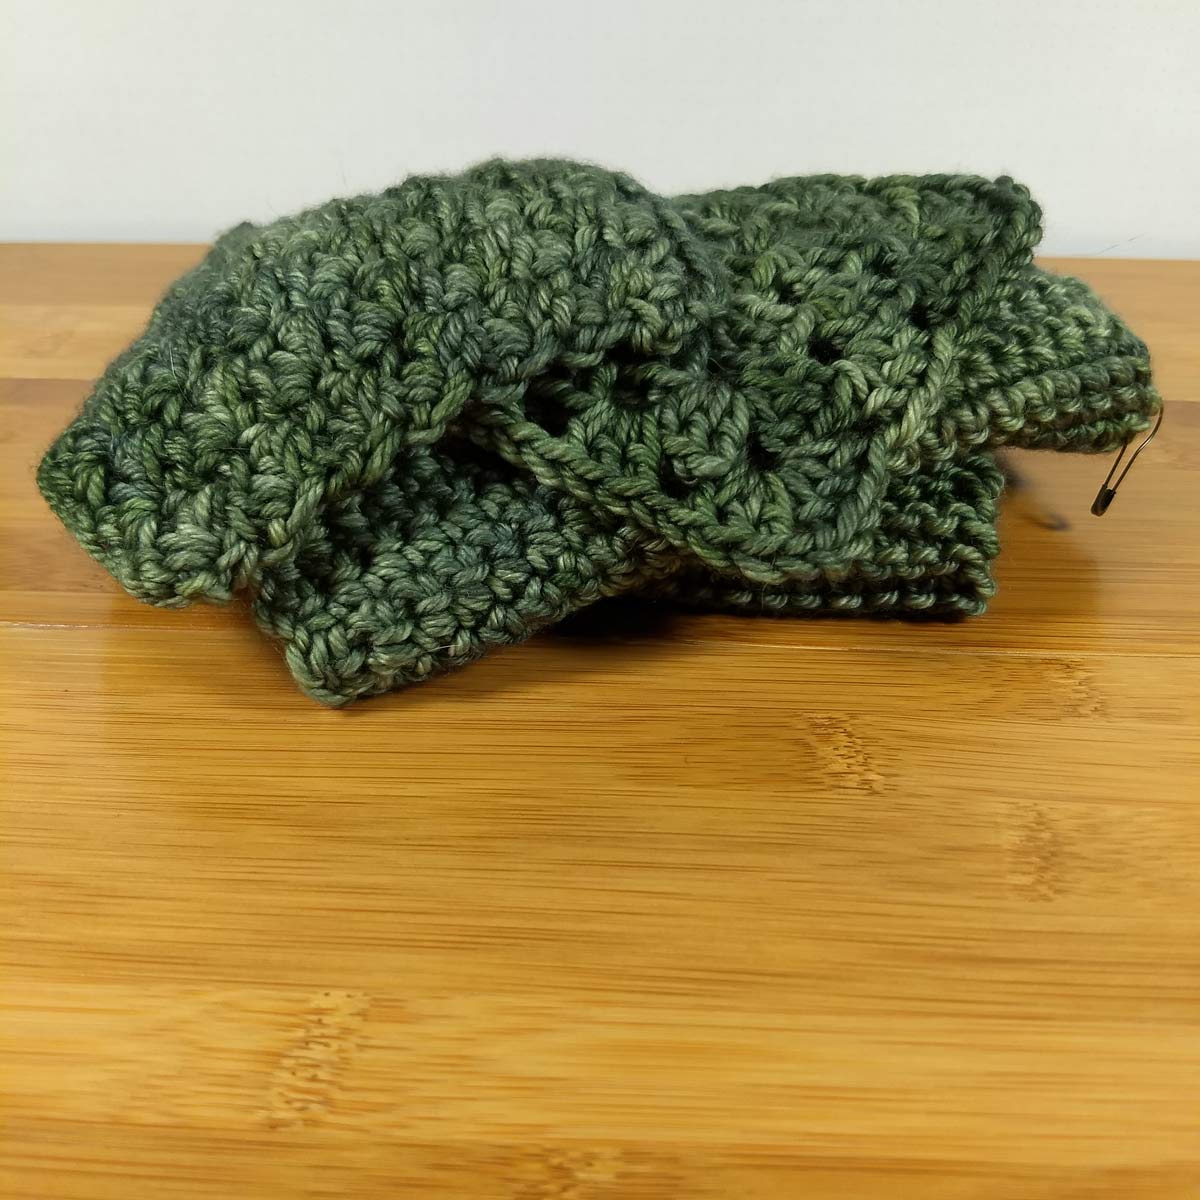
Next is what I think of as my default crochet motif, a granny square. It was very difficult to stop this one and break the yarn! It is super soft and squishy and begs to be used in accessories. I’d love to explore it in other motifs too.

A granny square in For Better or Worsted.
The same is true for this texture. I was concerned that it might be extremely dense but, like the granny square, it shines.
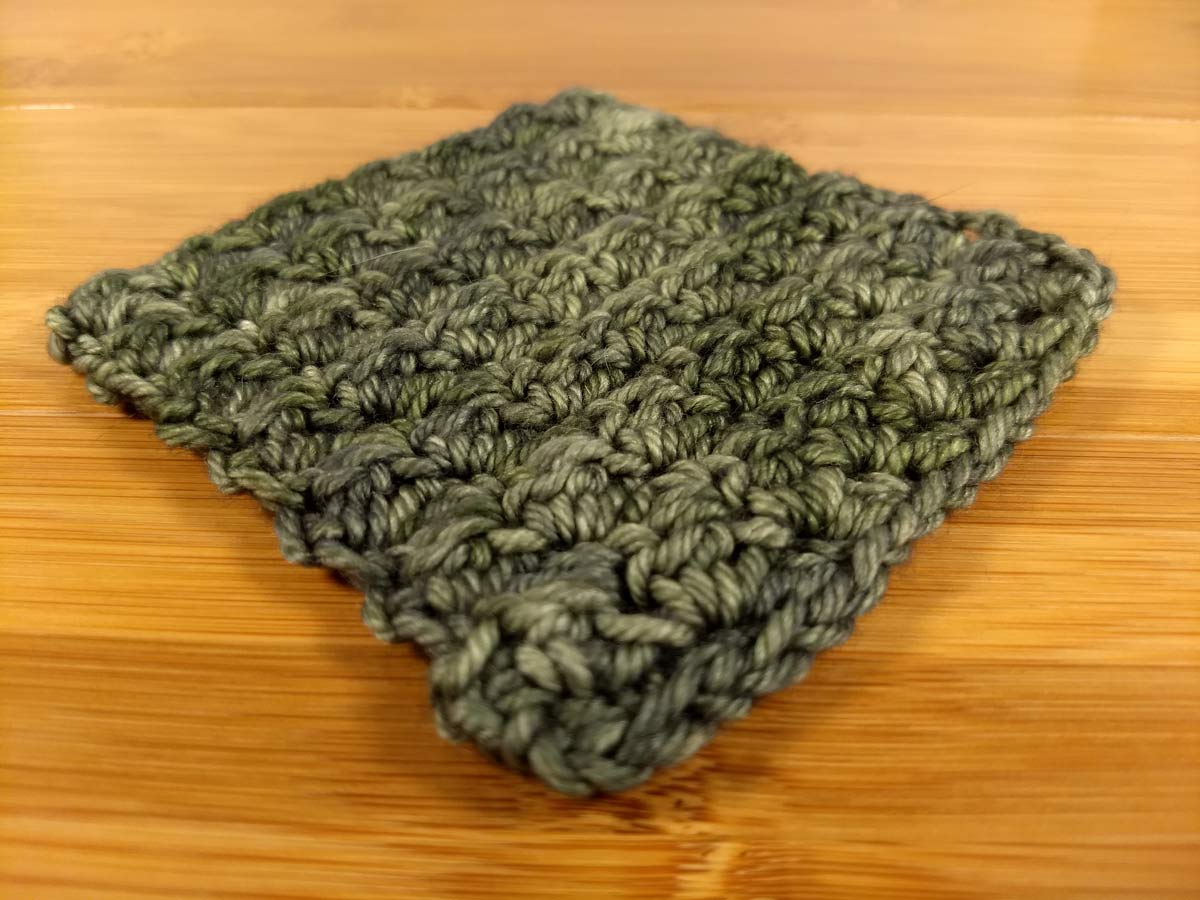
Textured crochet stitch pattern in For Better or Worsted.
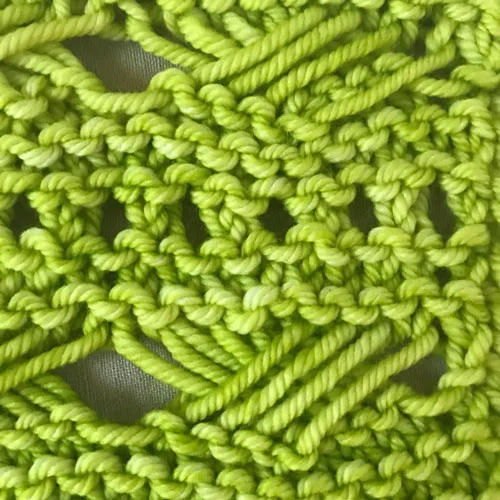
Personally I am not a fan of even a mildly bulky net fabric, but this has grown on me. This swatch has only received a light steam block; I’m sure if I pinned it out the fabric would drape and create an accessory that would work during transitional seasons or an overactive air conditioner.

Net crochet stitch pattern in For Better or Worsted.
Now about that machine-washable characteristic: I am going to get over my fear and toss in all of these swatches the next time I do laundry. They’ll experience my normal choice, a warm wash and cold rinse. They’ll then be laid flat to dry. I’ll report in soon to let you know how they fair!
Crochet swatches in For Better or Worsted.
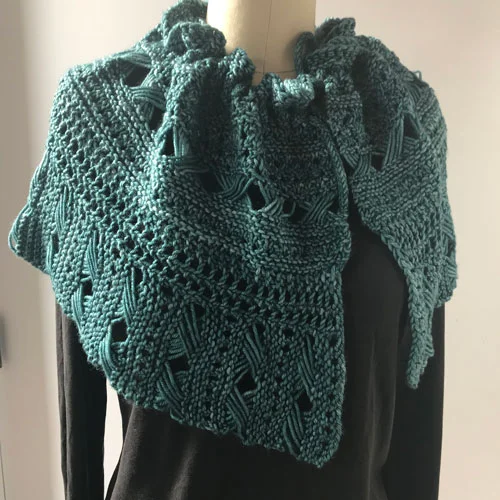
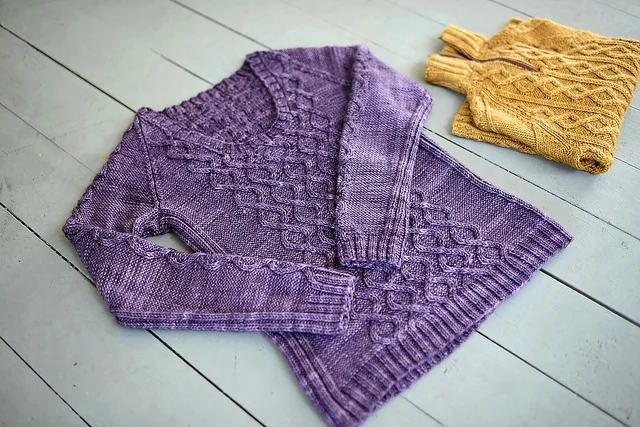
I could see a beautiful warm jacket with a textured stitch crocheted with this yarn. It is my opinion that it works best for accessories; warm mittens and hats come to mind. Shawls and wraps would be great too. I would love a cozy blanket to curl up with a book and my cats. As an example, Miriam Felton's Granny Log Cabin Blanket highlights the beauty of both knitting garter stitch and crochet; while she’s suggested Squishy or Dreamy I would love to work this up in For Better or Worsted!
This yarn is one that crocheters shouldn’t ignore.
All For Better or Worsted swatches were worked in Keola colorway.
Penny Shima Glanz spends her days spinning yarn and code into memorable projects. Small businesses rely on her for smart technology decisions. Designers rely on her to sample, test, and edit their hand-knit and crochet patterns. She loves muddy trail runs, fosters kittens, and lives in Westchester, NY with her husband and two resident cats. www.pennyshima.com